- Open a project
- Different working
modes
- Tree panel is
the list with all solutions, rough diamond model, polished diamonds, inclusions
and etc
- Description
of scene
- Movement panel
- Working with
photo
- 3D inclusions
- Flat / 3D inclusions
- Small spherical inclusions
- Sandwich
- New algorithm
for fast automatic creation of inclusion contour
- Creating virtual
"windows" on the model
- Allocate diamonds
- Default diamond
color panel
- Appraiser and
pricelist in allocation
- Diamond parameter
panel
- Description
of stereo mode
Description of scene
By default you see the four views (scenes) with virtual objects (rough model, inclusions, allocated diamonds etc). The bottom-right scene has arbitrary point of view and three other scenes has perpendicular directions of view. You may resize the scenes with "ruler" lines.
With "m1" and "m4" buttons you can switch between single view and 4-views mode.
With  button you can switch between Four Scenes. button you can switch between Four Scenes.
Move and Zoom options
The default tool in the scene is "rotate". In this mode you can "drag" the scene to rotate it with mouse. By holding "shift" button you can move the scene and by holding the "Ctrl" button you can Zoom In/Out the scene(s).
Also you can use the instruments "move", "rotate", "zoom in", "zoom out" from the toolbox:

Select "View/Show toolbox text" from menu to show the names of buttons:

Render settings
There are different styles of object visualization: wire-frame (lines), Solid, Transparent, Refracted (for inclusions).
The visualization scheme is changed automatically when you switch the working mode (Scan rough, Find inclusion, etc) as mentioned above. However, you are able to adjust visualization style of one or all scenes according to your momentary needs.
Click "tea-pot" button  to adjust visualization mode. You will be presented with the "Render settings" panel: to adjust visualization mode. You will be presented with the "Render settings" panel:
Select the desired visualization styles for objects and if you want select "Apply these settings to active scene only" or "Apply these settings to all scenes" and click OK.
Color and light settings
Open panel from menu "Settings/ Color and light settings":
Hear are you can adjust contrast of Scene and brightness of rough models. You
be able to set the color of the background. Use  button to open the "color" panel:
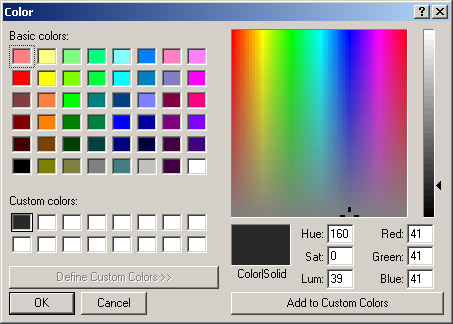
If you want changing color of the rough or diamond click right mouse button and open the "Color…"
|


